Three sweaters for your little charmer
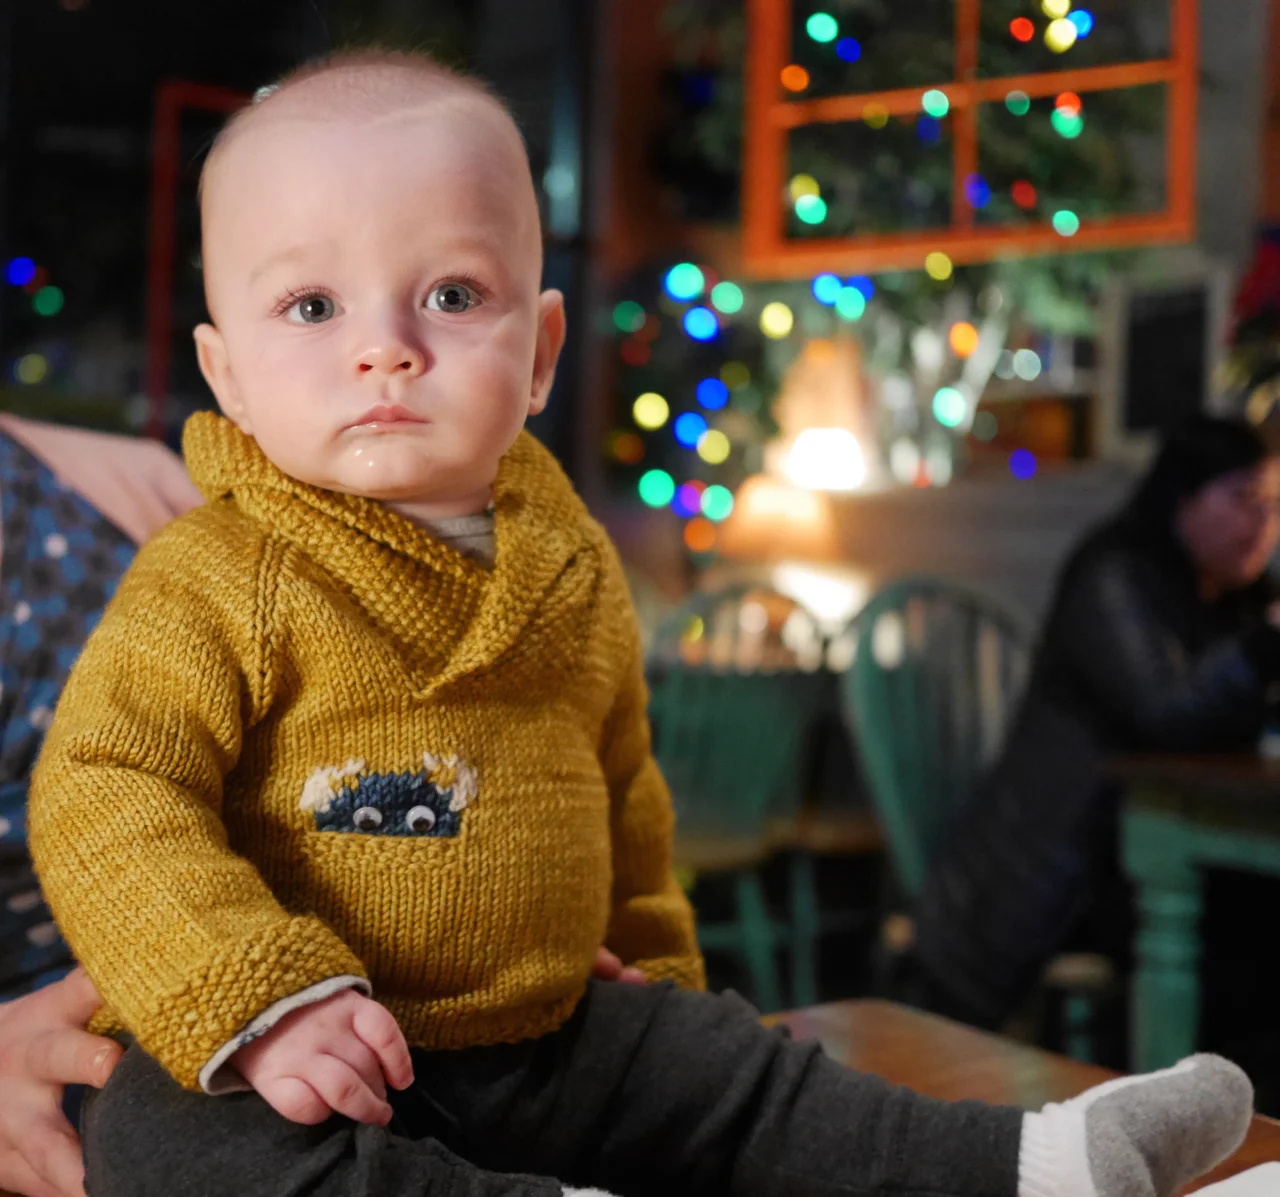
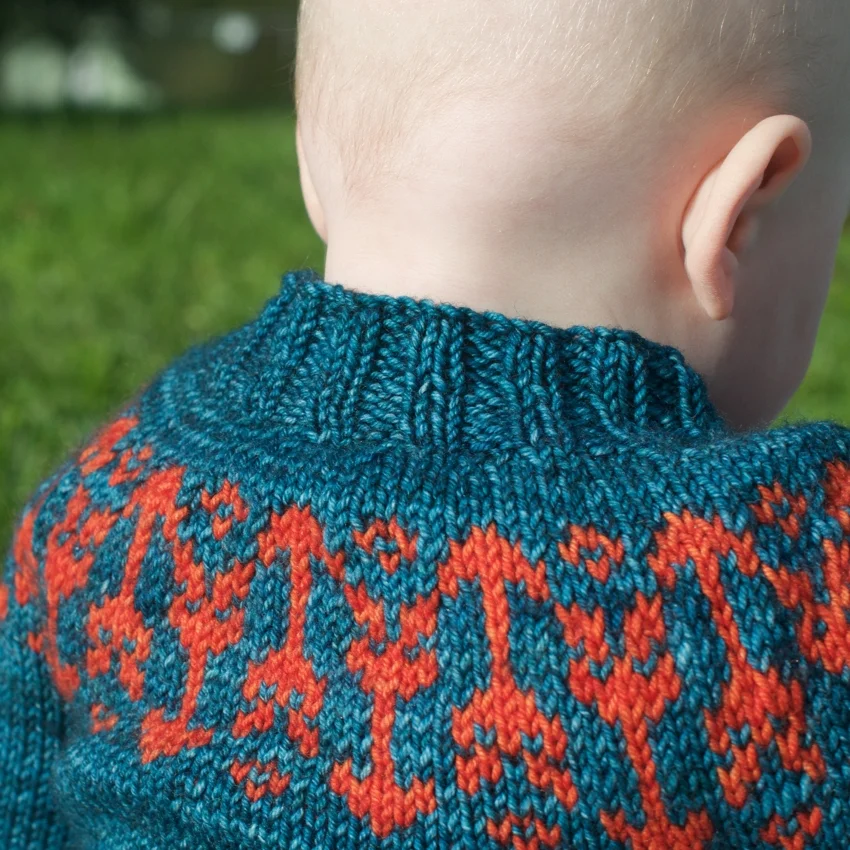
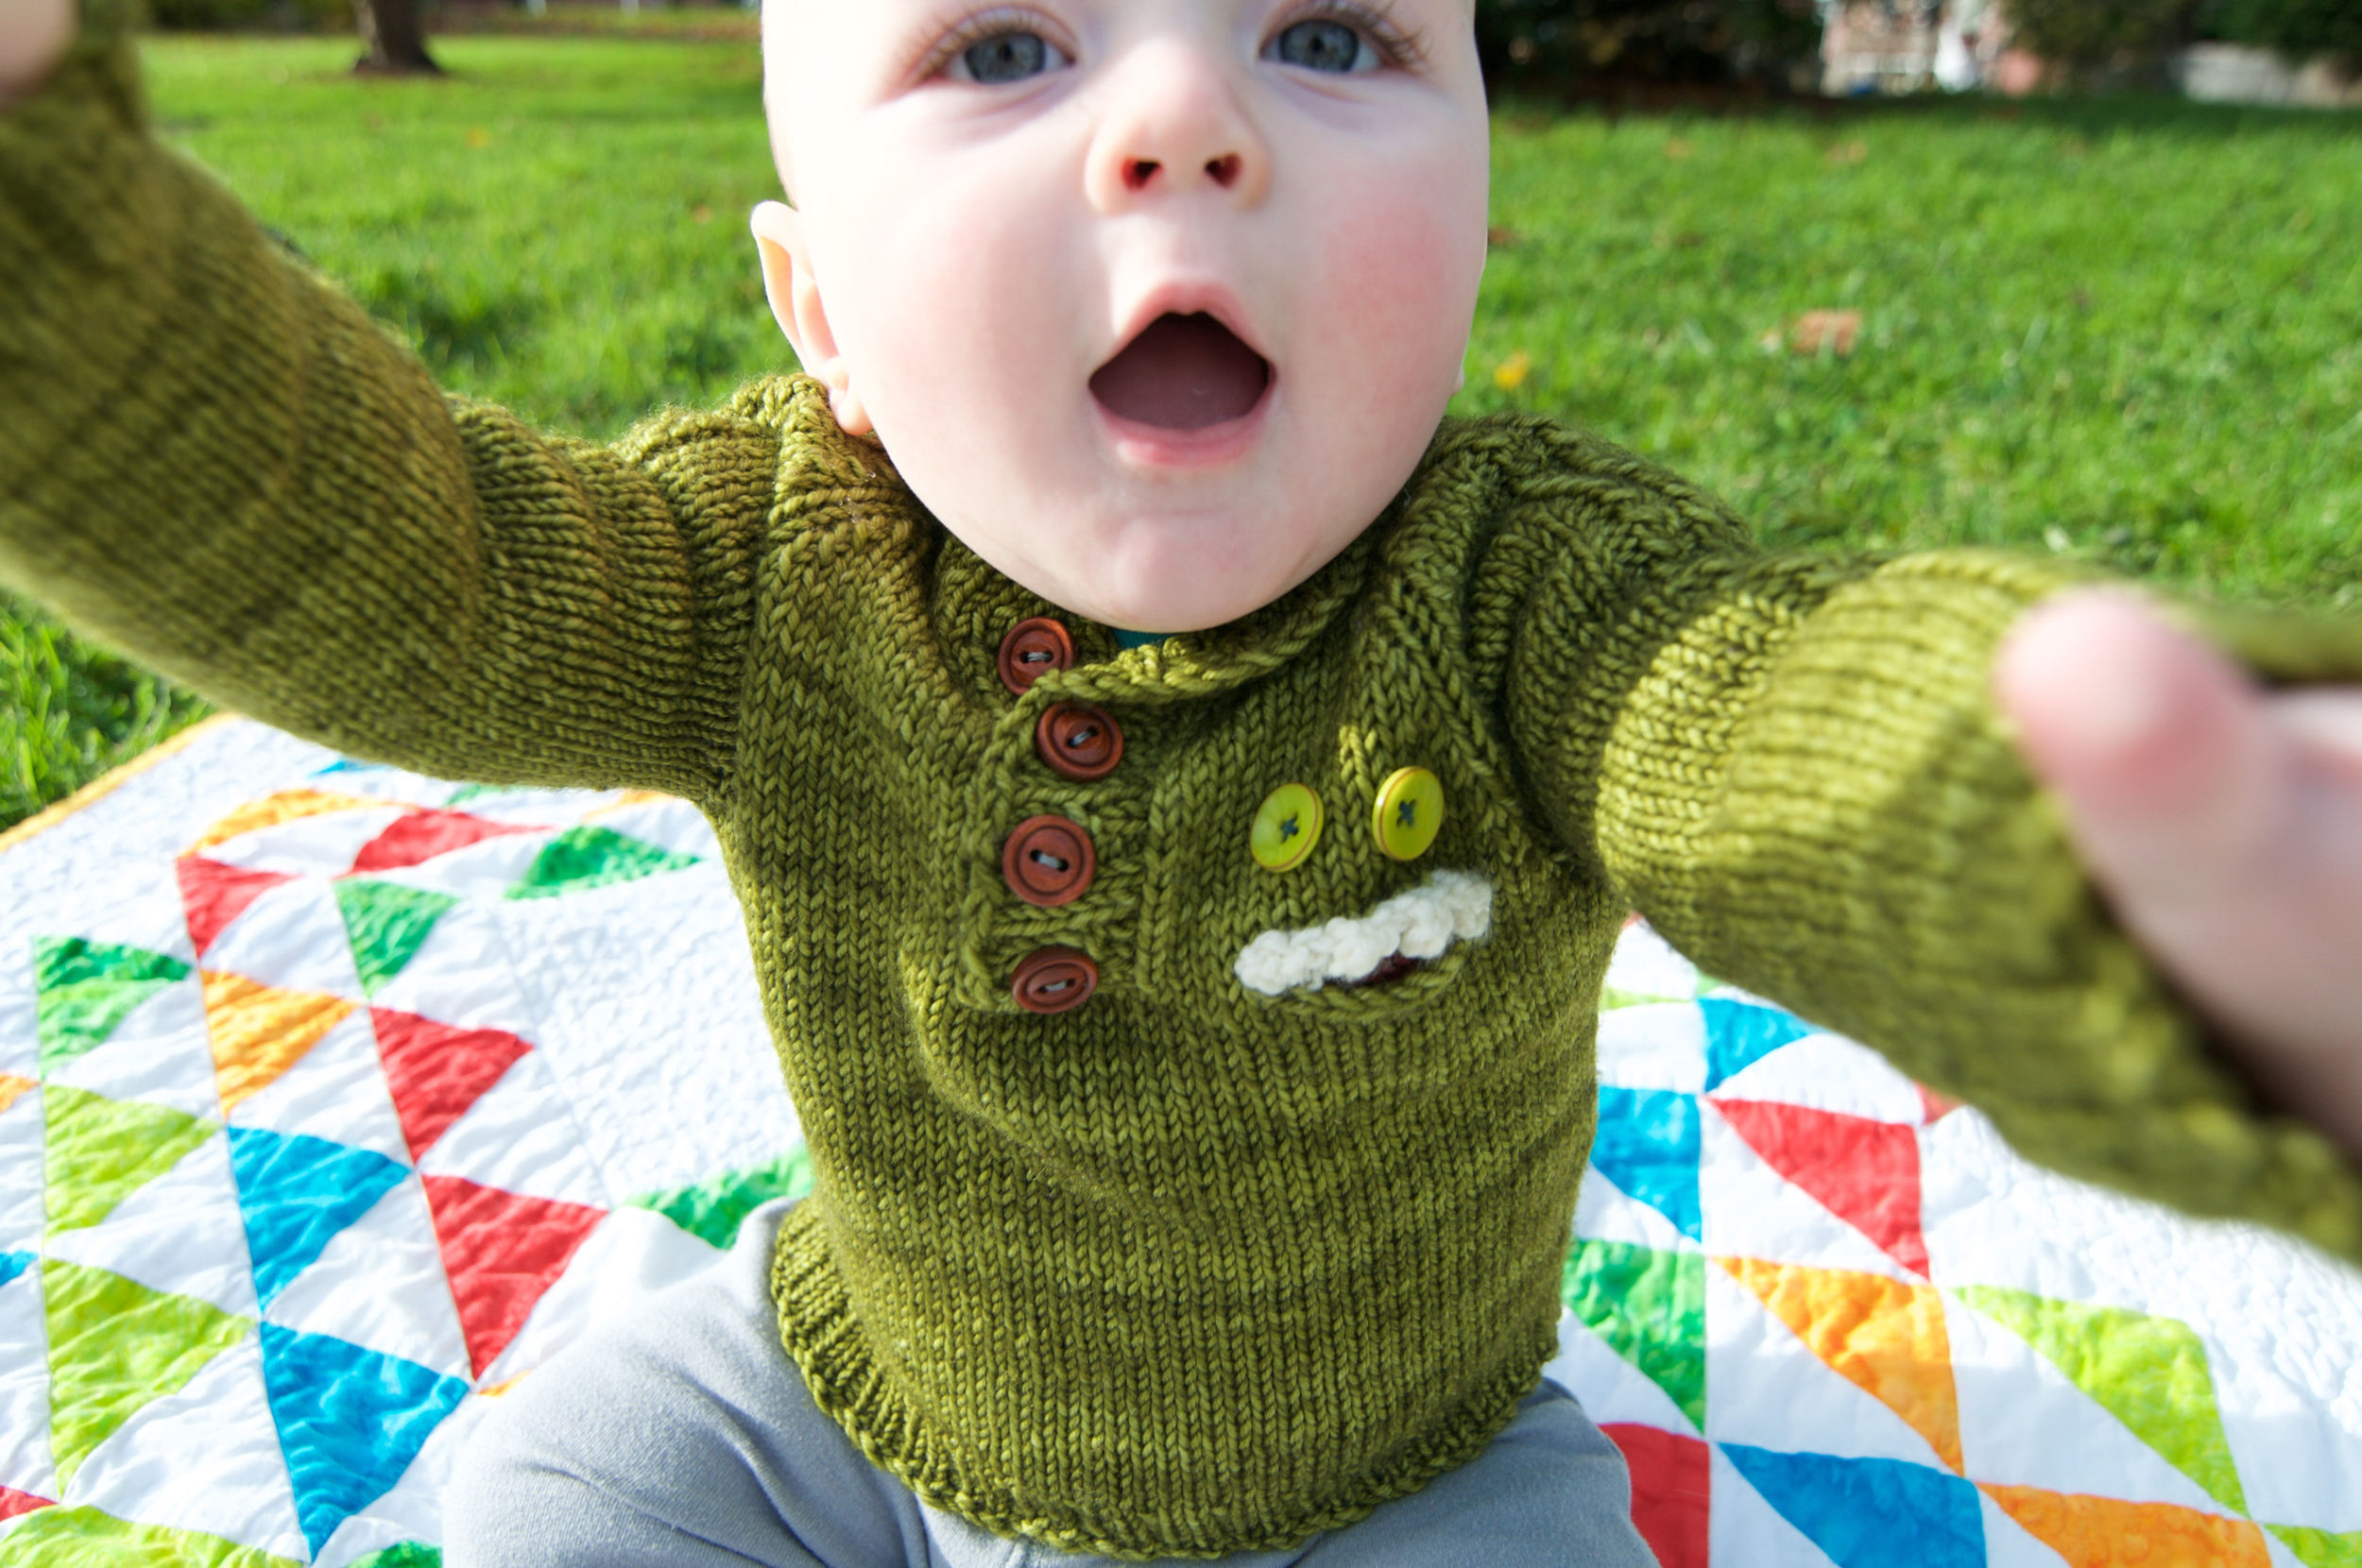
Monster, Wes, and Chomp! are bottom-up, seamless sweaters which will make your favorite babe even more adorable.
Baby debonair
Monster, Wes, and Chomp! are bottom-up, seamless sweaters which will make your favorite babe even more adorable.
Staying warm since 2008
You're knit-worthy